

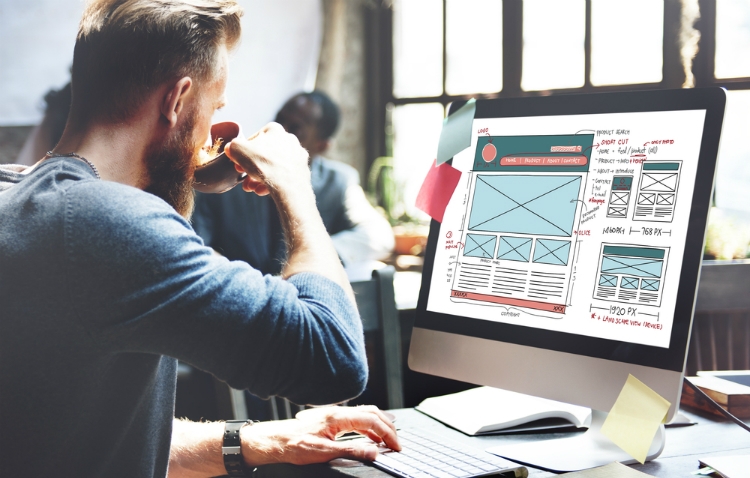
We all love images, don’t we?
Besides, images enhance a blog post, attract visitors, and transform the drab text into an engaging reading experience. They also make a post more shareable and reduce the bounce rate.
Using images in your content is a powerful tool to market your blog. However, to ensure that they don’t take up more of your web page than is necessary, they need to be well-sized and optimized.
Today, images are increasingly used in websites, which often results in bloated web pages. The downside to this is that your pages load slowly, thus affect your site visitors – especially those without high-speed connections. Moreover, this can negatively impact your SEO since Google doesn’t like slow-loading pages either.
Image optimization helps reduce the size of your image files. This lowers your site load time and improves your site’s visibility and performance – without affecting image quality. As a blogger, this is a vital art you may want to learn. Read on to discover why and how to optimize images for your blog.
Why Optimize an Image as a Blogger?
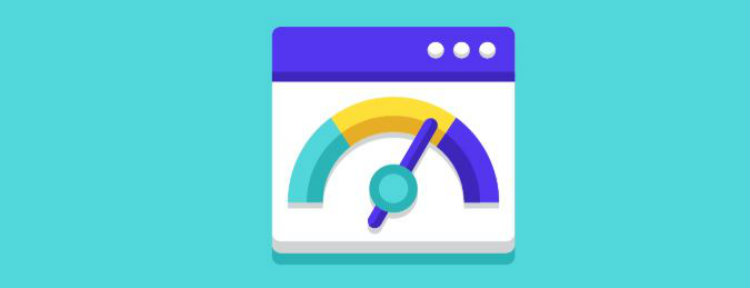
Page loading speeds are key to a website’s user experience. As such, 40% of users abandon websites if they have to wait longer than 3 seconds for pages to load. Mobile users, in particular, tend to have little patience with such sites due to their slower connections.
Image optimization helps to speed up your site’s loading speed. After all your hard work creating great content and optimizing your blog, you wouldn’t want your site visitors to walk away even before it loads. Eventually, an increased bounce rate reduces the number of visitors to your site.
Secondly, if your hosting account doesn’t offer unlimited storage, using big images will use up a lot of your space. Most premium hosting providers limit your storage to about 10GB, and hosting multiple sites with many images on the same account can fill up this space fast.
Thirdly, it helps improve your SEO. Your site ranks higher in search engine search results, and this results in greater visibility. Additionally, Google may crawl and index your images faster when visitors request for image searches – your blog posts become more search-friendly.
Finally, with images taking up almost 21% of a total webpage’s weight, optimized images mean less use of bandwidth and faster backups. You will also use less server space.
How to Optimize Images for Bloggers

To test whether your images are slowing down your site, you can use Google Page Speed insights. If Goggle’s report indicates that your unoptimized pages are responsible for your slow site, then you can go ahead to rectify the problem.
There are various image optimization methods available, but their use depends on the structure and layout of your web page. The key optimization tools entail compressing the image size, use of light-image file formats as well as reducing the number of site images.
Before you sort out your issue though, consider the below factors:
- Type of image compression
- File format
- How you serve your images
- Image size and dimensions
Below are ways to optimize your images as a blogger:
1. Image Compression
This is the most popular way to optimize images. It involves compressing the images and, thereafter, uploading them to WordPress. You can use tools such as Adobe Photoshop, Affinity Photo, or plugins to do this.
First, you need to consider the file format and type of compression you use. When you choose the right file format and compression type, your image size can reduce by up to 5 times. You will need to experiment with each image or file format to see what provides you with optimum results.
a) Choose the Right File Format

Ensure that you’ve chosen the best file type before you start adjusting your image. You may use several types of files :
- PNG – produces high-quality images though it has a large file size
- JPEG – you can compress images to get quality images with small file sizes
- GIF – the best choice for animated images and simple web images
Other file types like JPEG XR and WebP do not enjoy support from all browsers. Generally, the best files to use are JPEG or JPG for colourful images and PNG for simple images.
b) Choose The Right Compression Type
Image compression helps to reduce size and image detail by removing some of its header information. You can either use lossy or lossless types of compression.
Lossy optimization is a filter that removes some of the data; this may result in lower image quality. You, therefore, need to be careful about how much you reduce the image.
Still, it’s best to use lossy compression whenever possible. Use tools such as Adobe Photoshop or Affinity Photo, to adjust the image’s quality settings. Some of the preferred file formats for quick image compression are .png, .jpg, and .gif.
Lossless, on the other hand, is a filter that compacts the data. Though it doesn’t reduce the quality, it requires the images to be decompressed before they can be rendered. You can use tools like Photoshop, FileOptimizer, or ImageOptim to do this.
When you use a very low compression rate, it results in high quality but larger file size. A very high compression rate, on the other hand, results in a very low-quality image but a smaller file size.
Ensure you ‘save for Web’ or ‘optimized for Web.’ This option, available in many image editors including Photoshop, allows you to compress your images to the smallest file size without compromising on image quality.
2. Image Caching
This is often touted as the most effective optimization method. Here, image files are stored within a user’s browser cache or a proxy server for quick and easy access. The former helps minimize application requests and page download size while the latter helps to accelerate page rendering times – by storing image files on the point of presence (PoP) servers.
If your site contains several images shared among webpages, and they remain unchanged for a long period, caching can be especially useful.
3. Use Vector Images
Vector images such as .pdf, .ai, or .eps use coordinates and graphics to create a scene. They are smaller than their raster (bitmap) counterparts. If you use them instead of raster images, you can decrease page load times without forgoing image quality.
Whenever possible, use vector images alongside your PNGs and JPGs. Note, however, that this method is mostly used for geometrically shaped images and graphics and is unsuitable for images with complex details, like photographs.
Furthermore, only use raster images for scenes that contain lots of shapes and details.
4. Use CDNs With Caution
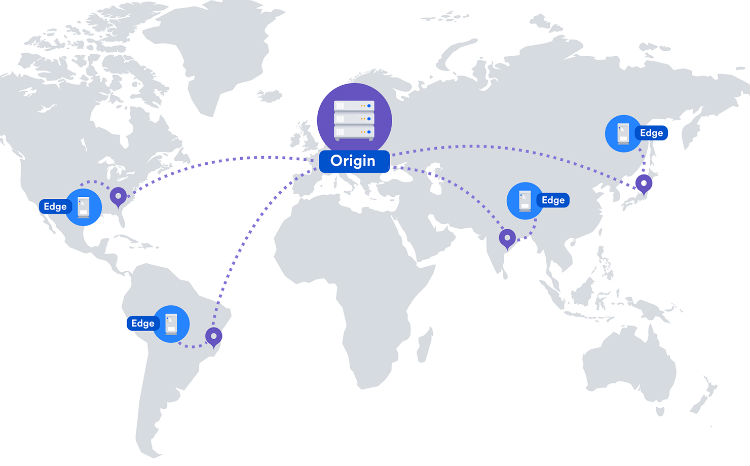
Content Delivery Networks, CDNs are preferred places for hosting images and media files. They can help increase your page load speeds and sort out bandwidth challenges. This means that your images download faster.
The way you serve your images to your visitors can dramatically impact your page load time. While most bloggers do this straight from their hosting account if you wish to get the best site performance, consider hosting your images on a CDN.
A major drawback here is backlinks. When you create custom images, you get quality backlinks when other blogs use your image in their articles and credit you with a source link.
But, placing your images on a CDN means you remove the image from your domain and place it on the CDN’s domain. Thus, when a visitor links to your image, they are essentially linking to the CDN domain.
Therefore, the best way to use CDNs is:
- Determine whether CDN is suitable for your blog
- If your blog is already well-monetized, a CDN can help with bandwidth
- If you are already getting thousands of visitors, then your hosting provider can manage the load
5. Image Size and Dimension
Before you upload images to your blog post, consider their size and dimension. Remember, large images put a huge load on your server, resulting in increased loading speed. In addition, it will negatively affect your SEO.
If using stock images, resize the overly large ones using online tools like PicResize or PicMonkey before you upload them. Besides, if your publishing platform automatically resizes your images, choose the resized images over the original, full-sized version. For example, WordPress contains plugins that optimize your images as you upload them.
Finally, use web fonts rather than place text within images. The images look better when scaled and also take up less space. Also, your images shouldn’t be larger than the width of your blogpost because they may overlap with your widgets.
To speed up your web pages load time, take advantage of the above tips and best practices. They will help you format your images, decrease their file size, and optimize them for great user experience and improved website performance.
Your site visitors will enjoy spending more time on your site, and Goggle will reward you with high site ranking. Now, isn’t that worth putting a little more effort into optimizing your blog images?
About the Author

David Freudenberg is the active public relations manager for ProductionCrate, an awesome website providing custom, easy to use, tools and resources so you can take your production to the next level! When he is not building relationships with others for ProductionCrate. He enjoys spending time with his family and friends.
